Introduction
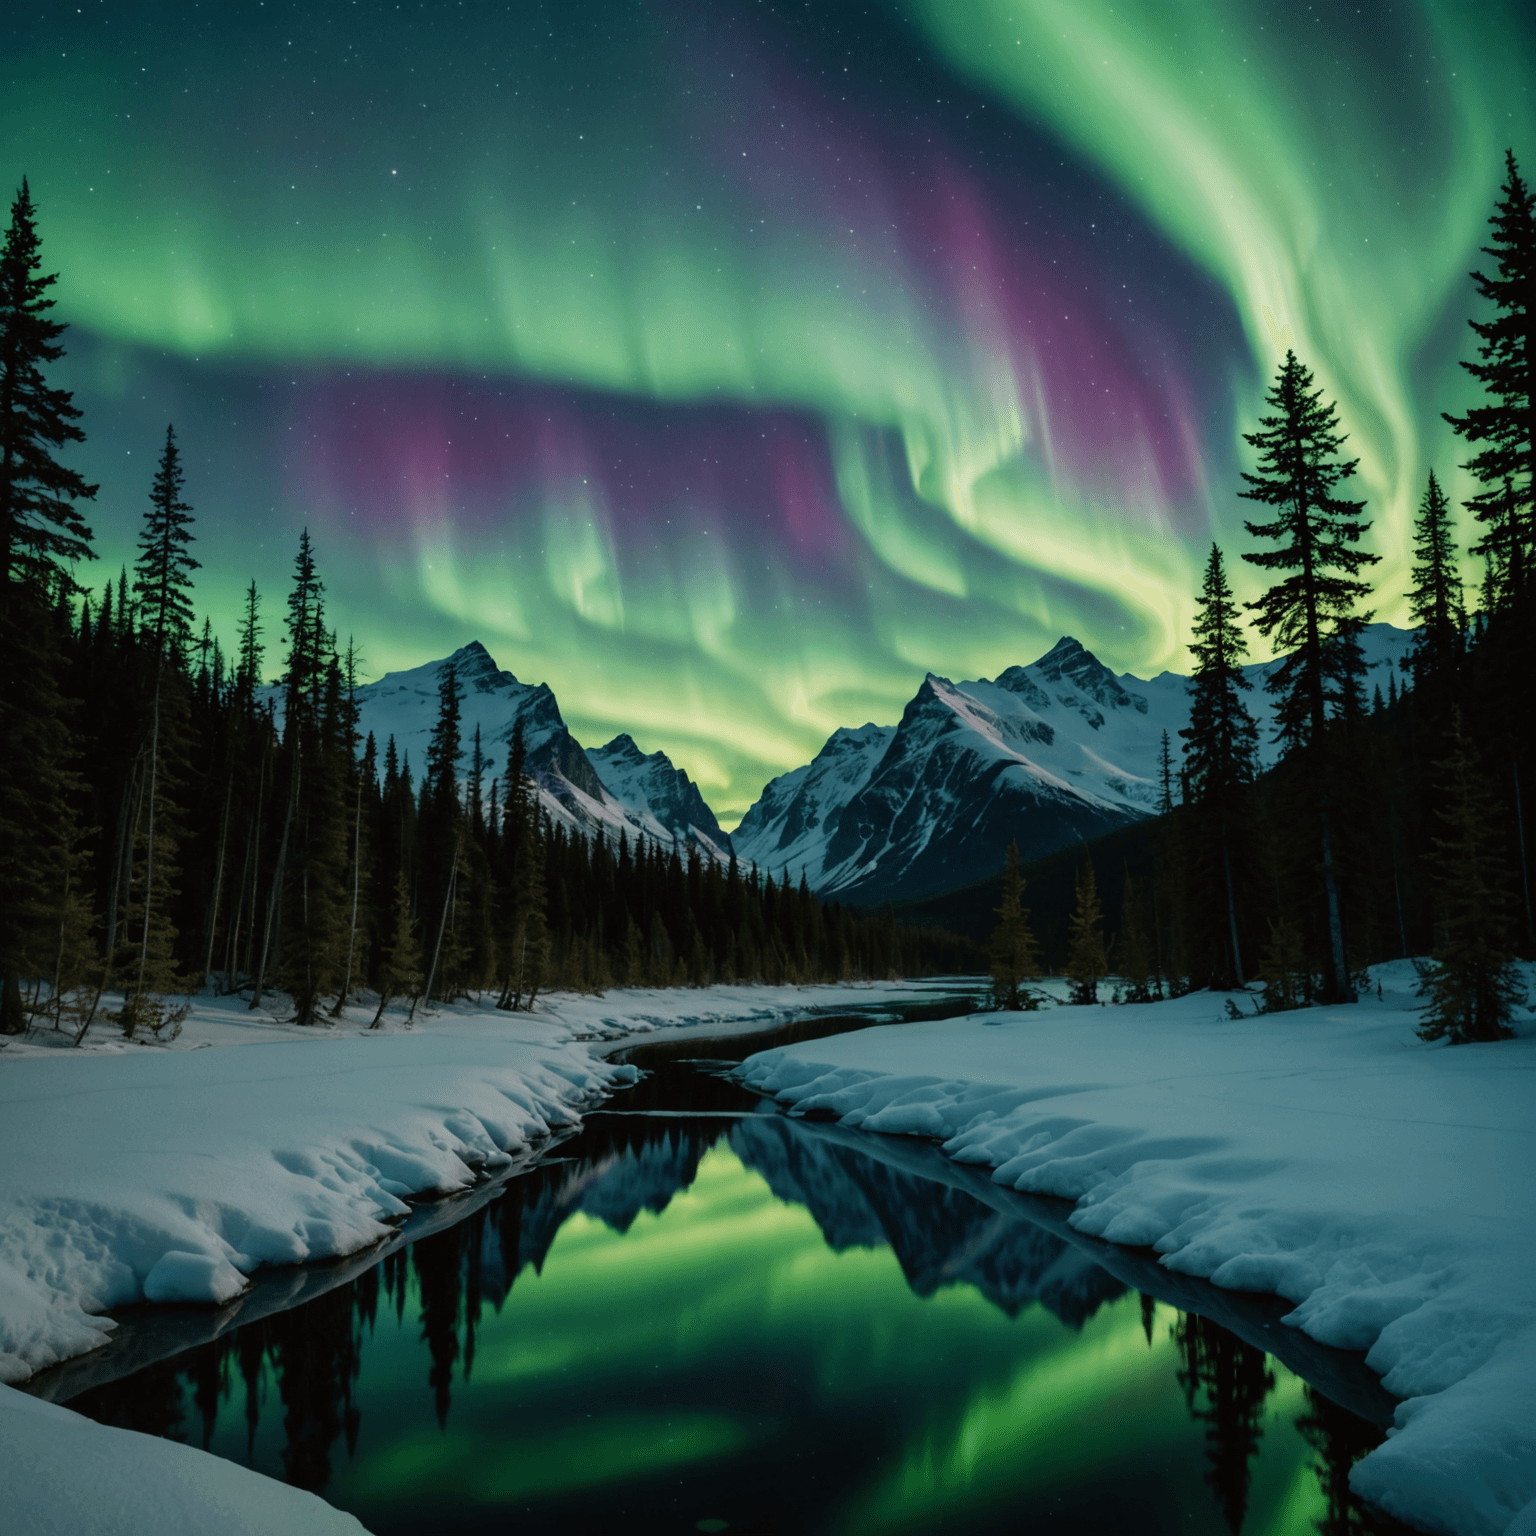
Photos of the Northern Lights in Alaska are not just stunning; they are a bucket-list experience for photographers and travelers alike. The aurora borealis, as it’s scientifically known, paints the Alaskan sky with vibrant displays of green, pink, and sometimes even red and purple hues. Capturing these mesmerizing phenomena requires not only the right conditions but also knowledge of photographic techniques and the best locations to witness this natural wonder. In this guide, we’ll explore when and where to capture the Northern Lights in Alaska, as well as provide tips on how to take your own breathtaking photos.
[spronix_cta key=”northern-lights-adventures”]
When to See the Northern Lights in Alaska
The best time to witness the Northern Lights in Alaska is during the winter months, from late September to early April. This period provides the dark skies necessary for optimal viewing. According to the Aurora Forecast by the University of Alaska Fairbanks, the peak activity usually occurs around the equinoxes in March and September. During these times, the chances of seeing the aurora increase due to the alignment of the geomagnetic field and solar winds.
Weather Conditions
Clear, dark skies are essential for viewing the Northern Lights. Checking the National Weather Service’s forecasts can help you plan your viewing by avoiding cloudy nights. Locations away from city lights offer the best visibility, making rural parts of Alaska ideal for aurora photography.
Where to Capture the Northern Lights in Alaska
Alaska offers numerous spots renowned for Northern Lights viewing. Here are some of the top locations:
Fairbanks
Fairbanks is considered one of the best places in the world to view the Northern Lights. Its geographical location under the auroral oval makes it ideal. The area around Fairbanks features several dedicated viewing spots like Creamer’s Field and Murphy Dome.
Denali National Park
Denali offers more than just wildlife and mountain vistas. Its remote location provides dark skies that are perfect for aurora photography. For those interested, Discover Denali offers detailed visitor information and tips for planning your trip.
Anchorage and Surrounding Areas
While Anchorage is a city, it is still possible to view the Northern Lights from here, especially in its surrounding areas. Visit Anchorage provides information on local tours and viewing locations outside city limits.

How to Photograph the Northern Lights
Capturing photos of the Northern Lights in Alaska requires preparation and the right equipment. Here are some tips to get you started:
Equipment Needed
- Camera: A DSLR or mirrorless camera with manual settings is ideal.
- Lens: A wide-angle lens with a fast aperture (f/2.8 or lower) allows more light to hit the sensor.
- Tripod: Essential for keeping your camera steady during long exposures.
- Remote Shutter: Helps reduce camera shake during long exposure shots.
Camera Settings
- ISO: Start with an ISO of 1600 and adjust as needed. Higher ISO settings can capture more detail but may introduce noise.
- Aperture: Use the widest aperture available on your lens to capture more light.
- Shutter Speed: Begin with a shutter speed of around 15-30 seconds. Adjust according to the brightness of the aurora and ambient light conditions.
Composition Tips
- Foreground Interest: Include elements like trees, mountains, or cabins to add context and depth to your photos.
- Rule of Thirds: Place the horizon in the lower third of your composition to emphasize the sky.
Timing and Patience
Patience is key when photographing the aurora. Even with the best predictions, the Northern Lights can be unpredictable. Stay prepared to adjust your settings as the lights vary in intensity and movement.
Conclusion
Capturing photos of the Northern Lights in Alaska is both a challenge and a reward for photographers. With the right conditions, equipment, and location, you’ll be able to take captivating images that showcase the beauty of this natural wonder. Whether you’re a seasoned photographer or a passionate traveler, experiencing the aurora is an unforgettable adventure.
For those planning a trip, consider exploring additional Northern Lights adventures to enhance your Alaskan experience.
[spronix_cta key=”northern-lights-adventures”]
FAQ
Q: What time of year is best for seeing the Northern Lights in Alaska?
A: The best time to see the Northern Lights in Alaska is from late September to early April, with peak activity occurring around the equinoxes in March and September.
Q: What are the best locations in Alaska to view the Northern Lights?
A: Fairbanks, Denali National Park, and areas around Anchorage are among the top locations for viewing the Northern Lights in Alaska.
Q: What camera settings should I use to photograph the Northern Lights?
A: Start with an ISO of 1600, a wide aperture (f/2.8 or lower), and a shutter speed of 15-30 seconds. Adjust these settings based on the brightness of the aurora.
Q: Do I need a special camera to photograph the Northern Lights?
A: While a DSLR or mirrorless camera with manual settings is ideal, some modern smartphones with night mode capabilities can also capture the aurora.
Q: Can I see the Northern Lights from Anchorage?
A: Yes, it is possible to see the Northern Lights from Anchorage, especially in areas with less light pollution outside the city.
Q: Are there any tours available for viewing the Northern Lights in Alaska?
A: Yes, there are many tours available, including customized and multi-day options. Consider checking Northern Lights adventures for more information.