Introduction
Embarking on a northern lights photography tour in Alaska is a bucket-list experience for many photography enthusiasts. Capturing the ethereal beauty of the aurora borealis requires preparation, skill, and a bit of luck. Alaska, with its expansive wilderness and clear skies, provides a perfect backdrop for this celestial phenomenon. This guide will offer you tips on camera settings, gear, and prime locations to maximize your chances of capturing the northern lights in all their glory.
[spronix_cta key=”northern-lights-adventures”]
Understanding the Northern Lights
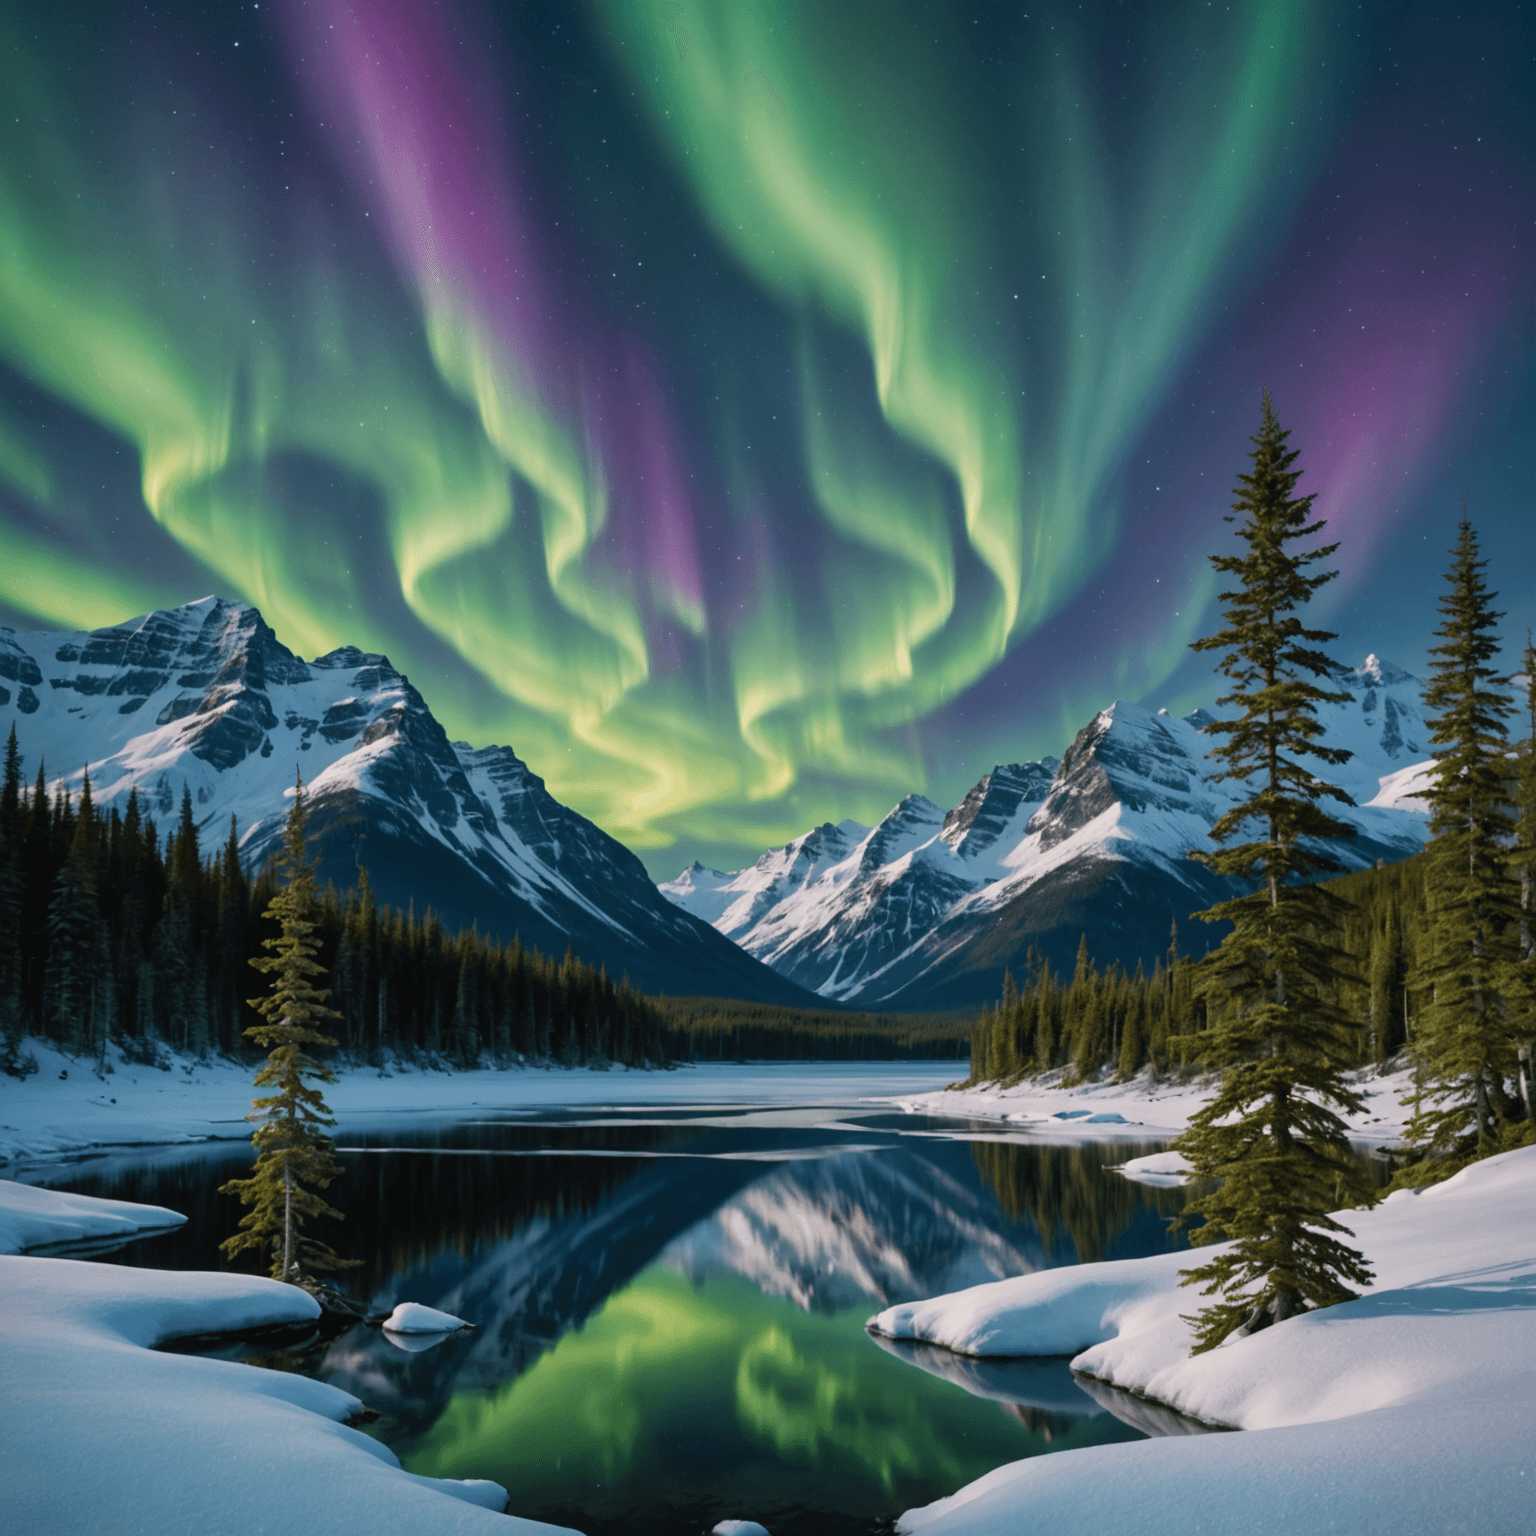
The northern lights, or aurora borealis, are a natural light display predominantly seen in high-latitude regions. They occur when charged particles from the sun collide with gases in Earth’s atmosphere, producing vibrant colors that dance across the sky. Alaska’s long winter nights and minimal light pollution make it an ideal spot for witnessing this spectacle.
Best Time to Visit Alaska for Northern Lights
The prime time for a northern lights photography tour in Alaska is between September and April. During these months, the nights are longest, providing more opportunities for sightings. It’s crucial to check the aurora forecast for optimal viewing times and to plan your trip around a new moon to reduce light interference.
Essential Gear for Northern Lights Photography
Camera and Lenses
A DSLR or mirrorless camera with manual settings is essential. Ensure your camera can handle high ISO levels with minimal noise. A wide-angle lens (14-24mm) with a fast aperture (f/2.8 or wider) is ideal for capturing the broad expanse of the aurora.
Tripod
A sturdy tripod is non-negotiable as you’ll be working with long exposure times. Choose a model that can withstand cold temperatures and uneven terrain.
Remote Shutter Release
To avoid camera shake, use a remote shutter release or your camera’s self-timer function.
Extra Batteries and Memory Cards
Cold temperatures can drain batteries quickly, so bring extras. Likewise, carry additional memory cards to store numerous high-resolution images.
Camera Settings for the Northern Lights
ISO
Start with an ISO setting around 1600, adjusting based on light conditions. Higher ISO settings will capture more light but may introduce noise.
Aperture
Set your aperture to the widest setting possible (f/2.8 or wider) to allow more light into the camera.
Shutter Speed
Start with a shutter speed of 5-15 seconds. If the aurora is moving slowly, longer exposure times can capture more detail. Adjust according to the movement of the lights.
Focus
Manually focus your lens to infinity. To ensure sharp images, use live view to zoom in on a bright star or distant light and adjust focus until clear.
Top Locations in Alaska for Northern Lights Photography
Fairbanks
Fairbanks is touted as one of the best places in the world to view the northern lights due to its location under the auroral oval. The city offers numerous guided tours that can enhance your photography experience.
Denali National Park
Away from city lights, Denali National Park offers pristine landscapes for aurora photography. Combine your visit with other winter activities to fully experience Alaska’s wilderness.
Anchorage and Surrounding Areas
The outskirts of Anchorage provide excellent viewing spots. Consider taking a snowmobile northern lights tour for an adventurous twist.
Hatcher Pass
Known for its stunning scenery, Hatcher Pass is a fantastic spot for capturing the northern lights against a mountainous backdrop.
Preparing for Your Photography Tour
Dress Appropriately
Layering is key when dealing with Alaska’s frigid temperatures. Wear thermal layers, insulated jackets, and waterproof boots. Gloves that allow dexterity for camera adjustments are essential.
Safety Considerations
Be aware of wildlife and weather conditions. Familiarize yourself with bear safety tips and check the weather forecast regularly.
Guided Tours
Opting for a guided tour can be beneficial, especially if you’re unfamiliar with the terrain. Companies like Snowhook Adventures offer comprehensive tours that include transportation, gear, and expert guidance.
Conclusion
Embarking on a northern lights photography tour in Alaska is an unforgettable experience that combines adventure with the chance to capture one of nature’s most breathtaking phenomena. With the right preparation, equipment, and knowledge, you can increase your chances of capturing stunning images that you’ll cherish forever.
[spronix_cta key=”northern-lights-adventures”]
FAQ
What is the best month to see the northern lights in Alaska?
The best months are generally from late September to early April, with clear skies and long nights offering optimal viewing conditions.
Can I see the northern lights in Anchorage?
Yes, you can often see the northern lights from Anchorage, especially if you travel a bit outside the city to avoid light pollution.
What camera settings are best for northern lights photography?
Use a wide aperture (f/2.8 or wider), a high ISO (around 1600), and a shutter speed between 5-15 seconds, adjusting as needed based on conditions.
Is it necessary to join a guided tour for northern lights photography?
While not necessary, guided tours can provide valuable insights and access to prime locations, enhancing your overall experience.
How cold does it get when photographing the northern lights?
Temperatures can drop significantly, often below freezing, especially in the interior regions. Dressing in layers and wearing appropriate gear is crucial.
Are there any safety tips for photographing the northern lights in Alaska?
Yes, always be aware of your surroundings, including wildlife and weather conditions. Check forecasts and prepare for emergencies by informing someone of your itinerary.
What gear should I bring for a northern lights photography tour?
Bring a DSLR or mirrorless camera, wide-angle and fast lenses, a sturdy tripod, remote shutter release, extra batteries, and memory cards.
Can I photograph the northern lights with a smartphone?
While challenging, it’s possible with newer smartphones that allow manual adjustments for ISO, exposure, and focus. However, a dedicated camera setup will yield the best results.