Introduction
Capturing the ethereal beauty of the Northern Lights, or Aurora Borealis, is a magical experience and a dream for many travelers. Witnessing this natural wonder is one thing, but photographing it can be an entirely different challenge, especially with a smartphone. Fortunately, with advancements in smartphone technology, capturing the Northern Lights on your iPhone is easier than ever. This guide will walk you through the essential tips and techniques on how to capture Northern Lights on iPhone, ensuring you get the best possible shots of this breathtaking phenomenon.
[spronix_cta key=”northern-lights-adventures”]
Understanding the Northern Lights
The Northern Lights are a result of solar particles colliding with gases in the Earth’s atmosphere, creating dazzling displays of light. These lights are most commonly seen in high-latitude regions around the Arctic and Antarctic. In Alaska, for instance, the best time to view the Northern Lights is during the long winter nights between September and April.
For optimal viewing conditions, it’s important to check the weather and aurora forecasts. Websites like Space Weather and the Geophysical Institute’s Aurora Forecast provide up-to-date information on aurora activity.
Preparing Your iPhone for Night Photography
Before heading out to capture the Northern Lights, it’s crucial to ensure your iPhone is ready for night photography. Here are a few steps to consider:
Update Your Software: Make sure your iPhone is running the latest version of iOS to take advantage of the newest camera features.
Install a Tripod: A stable shot is crucial for night photography. Consider using a small tripod or a stabilizer to keep your phone steady.
Adjust Camera Settings: Use apps like NightCap Camera or ProCam to manually adjust settings such as ISO, shutter speed, and focus. These apps give you greater control over the camera compared to the default camera app.
Battery Management: Cold weather can drain your battery faster. Carry a portable charger to keep your iPhone powered throughout the night.
Optimal Settings for Capturing Northern Lights
Now that your iPhone is ready, it’s time to focus on the camera settings. Here’s what you need to get the best results:
ISO: Set the ISO between 800 to 1600. This will allow your camera to capture more light without too much noise.
Shutter Speed: Use a shutter speed between 10 to 30 seconds. This gives your camera enough time to capture the faint lights.
Focus: Manually set the focus to infinity. This ensures the lights are sharp and clear in your photos.
White Balance: Adjust the white balance to a cooler setting, which helps in capturing the true colors of the aurora.

Techniques for Capturing Stunning Images
Composition and Framing
When photographing the Northern Lights, composition is key. Try to include interesting foreground elements such as trees, mountains, or water to add depth and context to your photos. Experiment with different angles and perspectives to make your images more dynamic.
Patience and Persistence
The Northern Lights are unpredictable, and capturing them requires patience. Stay vigilant and be ready to take multiple shots as the lights dance across the sky. Don’t be discouraged if your initial photos aren’t perfect; practice makes progress.
Post-Processing
After capturing your images, use apps like Lightroom or Snapseed for post-processing. Adjust the exposure, contrast, and colors to enhance the vibrancy and clarity of your photos. However, be cautious not to over-edit, as this can result in unnatural-looking images.

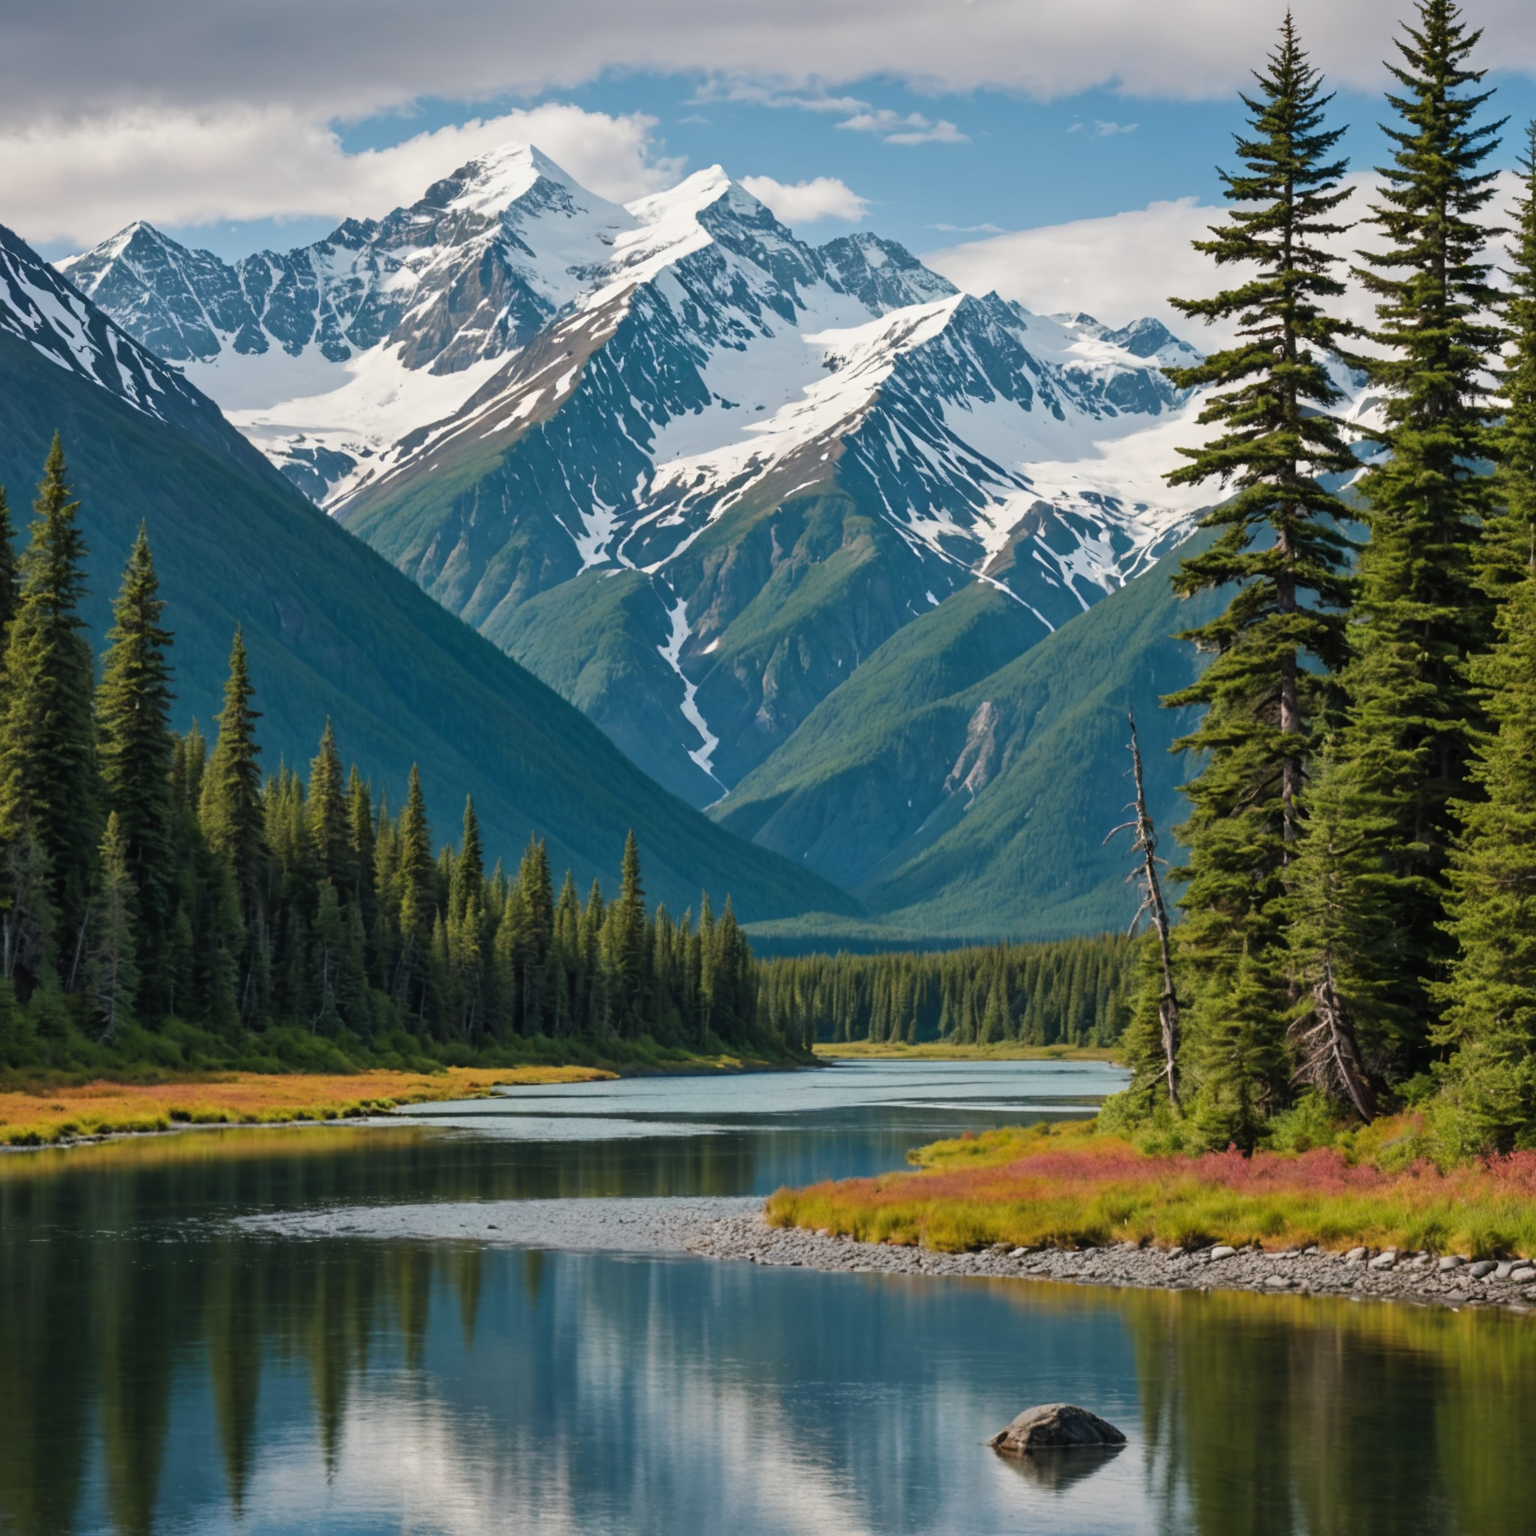
Experiencing the Northern Lights in Alaska
For those looking to experience the Northern Lights in their full glory, Alaska is one of the prime destinations. Consider booking a Northern Lights Ultimate Adventure or a Snowmobile Northern Lights Tour for an immersive experience.
Conclusion
Capturing the Northern Lights on an iPhone is entirely possible with the right preparation, settings, and techniques. By following the tips outlined in this guide, you’ll be well-equipped to take stunning photographs of this celestial spectacle. Remember, the key is to experiment, be patient, and enjoy the experience of witnessing one of nature’s most mesmerizing displays.
[spronix_cta key=”northern-lights-adventures”]
FAQ
How do I find the best locations to see the Northern Lights?
Alaska offers several prime locations for viewing the Northern Lights. Websites like Travel Alaska and Alaska.org provide valuable insights on the best spots.
Do I need a special app to capture the Northern Lights on my iPhone?
While the default camera app can work, using apps like NightCap Camera or ProCam can greatly enhance your photos by allowing manual adjustments.
What should I wear when photographing the Northern Lights in Alaska?
Dress warmly in layers. Consider visiting Alaska Winter Tours for more tips on staying comfortable in cold weather.
Can I see the Northern Lights year-round?
The Northern Lights are most visible from September to April. The long, dark nights during these months provide optimal viewing conditions.
How do I know if the Northern Lights will be visible tonight?
Check aurora forecasts from reliable sources like the NOAA’s Aurora 30-Minute Forecast to plan your outing.
What other activities can I do while in Alaska for the Northern Lights?
Alaska offers a range of activities such as dog sled rides and snowmobile tours, making it a great destination for winter adventures.
Is it safe to photograph the Northern Lights alone?
While it is generally safe, it’s always best to go with a group or tour guide, especially in remote areas. Ensure you are familiar with safety guidelines for outdoor activities in cold climates.