Introduction
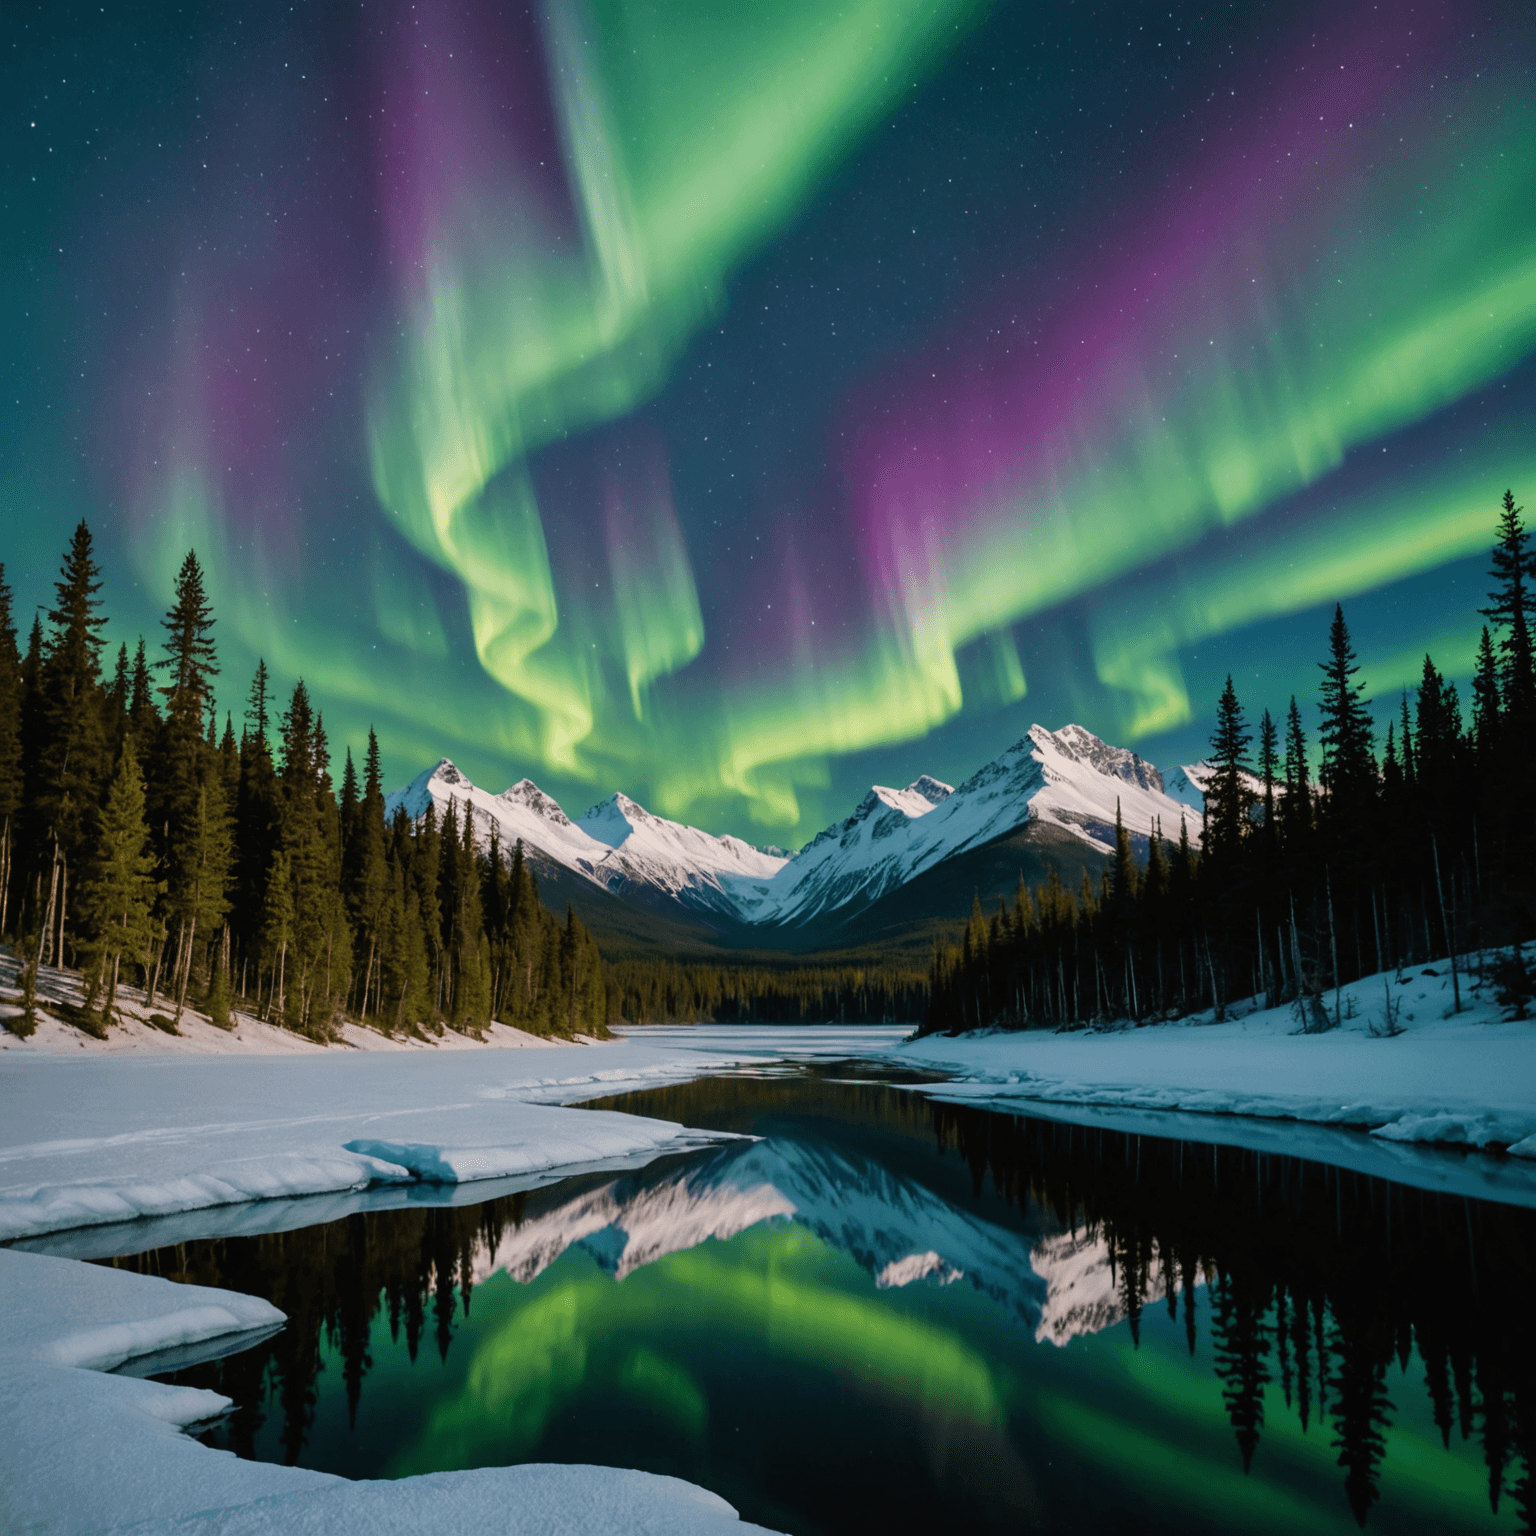
The Aurora Borealis, also known as the Northern Lights, is a breathtaking natural phenomenon that attracts countless visitors to the northernmost regions of the world. For many, capturing this stunning display with an iPhone is a rewarding challenge. This guide will walk you through the steps on how to see aurora borealis with iPhone, offering tips and settings adjustments to ensure you get the best possible images. Whether you’re headed to Alaska or another prime aurora-viewing location, this guide will help you make the most of your experience.
[spronix_cta key=”northern-lights-adventures”]
Planning Your Aurora Borealis Adventure
Best Time and Location
To maximize your chances of seeing the aurora borealis, timing and location are crucial. Winter in Alaska is an ideal time due to long, dark nights and clearer skies. The months between September and April offer the best opportunities. Travel Alaska provides detailed information on optimal viewing times and locations.
For a unique experience, consider pairing your aurora quest with an Alaska Winter Tour or a Dog Sledding Helicopter Combo. These tours not only increase your chances of seeing the lights but also offer thrilling adventures in Alaska’s wilderness.
Checking the Aurora Forecast
Before heading out, check the aurora forecast to ensure the conditions are favorable. Reliable sources include the Geophysical Institute at the University of Alaska Fairbanks and the NOAA Space Weather Prediction Center. This information will help you plan your outing for nights when the aurora activity is high.
Preparing Your iPhone for Aurora Photography
Essential iPhone Settings
To capture the aurora borealis effectively, you need to adjust your iPhone’s settings. Start by ensuring your camera is in Night mode. This feature automatically adjusts exposure times to capture low-light scenes, crucial for photographing the aurora.
- Turn Off Flash: The flash can interfere with the natural lighting of the aurora.
- Use Manual Focus: Focus on a distant object to ensure clarity.
- Adjust Exposure: Increase the exposure time to allow more light into your camera sensor. You can do this by tapping on the screen and sliding up the sun icon that appears.
Recommended Apps
Several apps can enhance your iPhone’s photography capabilities:
- ProCamera: Offers manual control over exposure and focus, allowing for better night photography.
- NightCap Camera: Specifically designed for low-light photography, it features a dedicated aurora mode.
Using a Tripod
A tripod is essential for capturing sharp images of the aurora borealis. The long exposure times required for night photography can make handheld shots blurry. A compact, portable tripod is ideal for outdoor adventures.
Techniques for Capturing the Aurora Borealis
Composition and Framing
When photographing the aurora, composition is key. Aim to include interesting foreground elements, such as trees or mountains, to add depth to your images. Experiment with different angles and perspectives to find the most compelling composition.
Patience and Persistence
Capturing the aurora borealis requires patience. The lights can be unpredictable, so be prepared to wait for the perfect moment. Dress warmly, bring snacks, and enjoy the experience of being immersed in nature.
Experiment with Settings
Don’t be afraid to experiment with different settings. Adjust the exposure and ISO settings to find the right balance for the current lighting conditions. Each aurora display is unique, so flexibility is essential.
Conclusion
Capturing the aurora borealis with an iPhone is a rewarding experience that combines the beauty of nature with the convenience of modern technology. By following the tips and techniques outlined in this guide, you’ll be well-prepared to photograph one of the most stunning natural displays on Earth. Remember to stay informed about weather and aurora forecasts, and consider enhancing your adventure with exciting tours like those offered by Snowhook Adventures.
[spronix_cta key=”northern-lights-adventures”]
FAQ
1. What is the best time of year to see the aurora borealis in Alaska?
The best time to see the aurora borealis in Alaska is between September and April, with the peak months being December to March due to extended periods of darkness.
2. Can I see the aurora borealis without a tour in Alaska?
Yes, you can see the aurora borealis without a tour, but guided tours such as the Northern Lights Ultimate Adventure offer expert knowledge and increase your chances of witnessing the lights.
3. What should I wear when photographing the aurora borealis?
Dress in layered, warm clothing to withstand cold temperatures. Insulated boots, gloves, and hats are essential for staying comfortable during long periods outdoors.
4. Can I use my iPhone’s default camera app to capture the aurora?
While the default camera app can be used, third-party apps like ProCamera or NightCap Camera provide more control over exposure settings, enhancing your ability to capture the aurora.
5. How can I find the best spots to view the aurora in Alaska?
Consult resources like Alaska.org for recommendations on prime viewing locations. Areas away from city lights, like Denali National Park, offer excellent conditions.
6. What is the minimum equipment needed for iPhone aurora photography?
At minimum, you’ll need your iPhone, a tripod for stability, and an app that allows manual control of camera settings to capture the aurora effectively.
7. How do I know if the aurora will be visible on a given night?
Check the aurora forecast from reliable sources like the NOAA Space Weather Prediction Center to determine the best nights for viewing.
8. Is it safe to travel at night in Alaska to see the aurora?
Traveling at night in Alaska can be safe if you are prepared. Check road conditions at 511 Alaska and ensure you have adequate supplies and safety gear.