Introduction
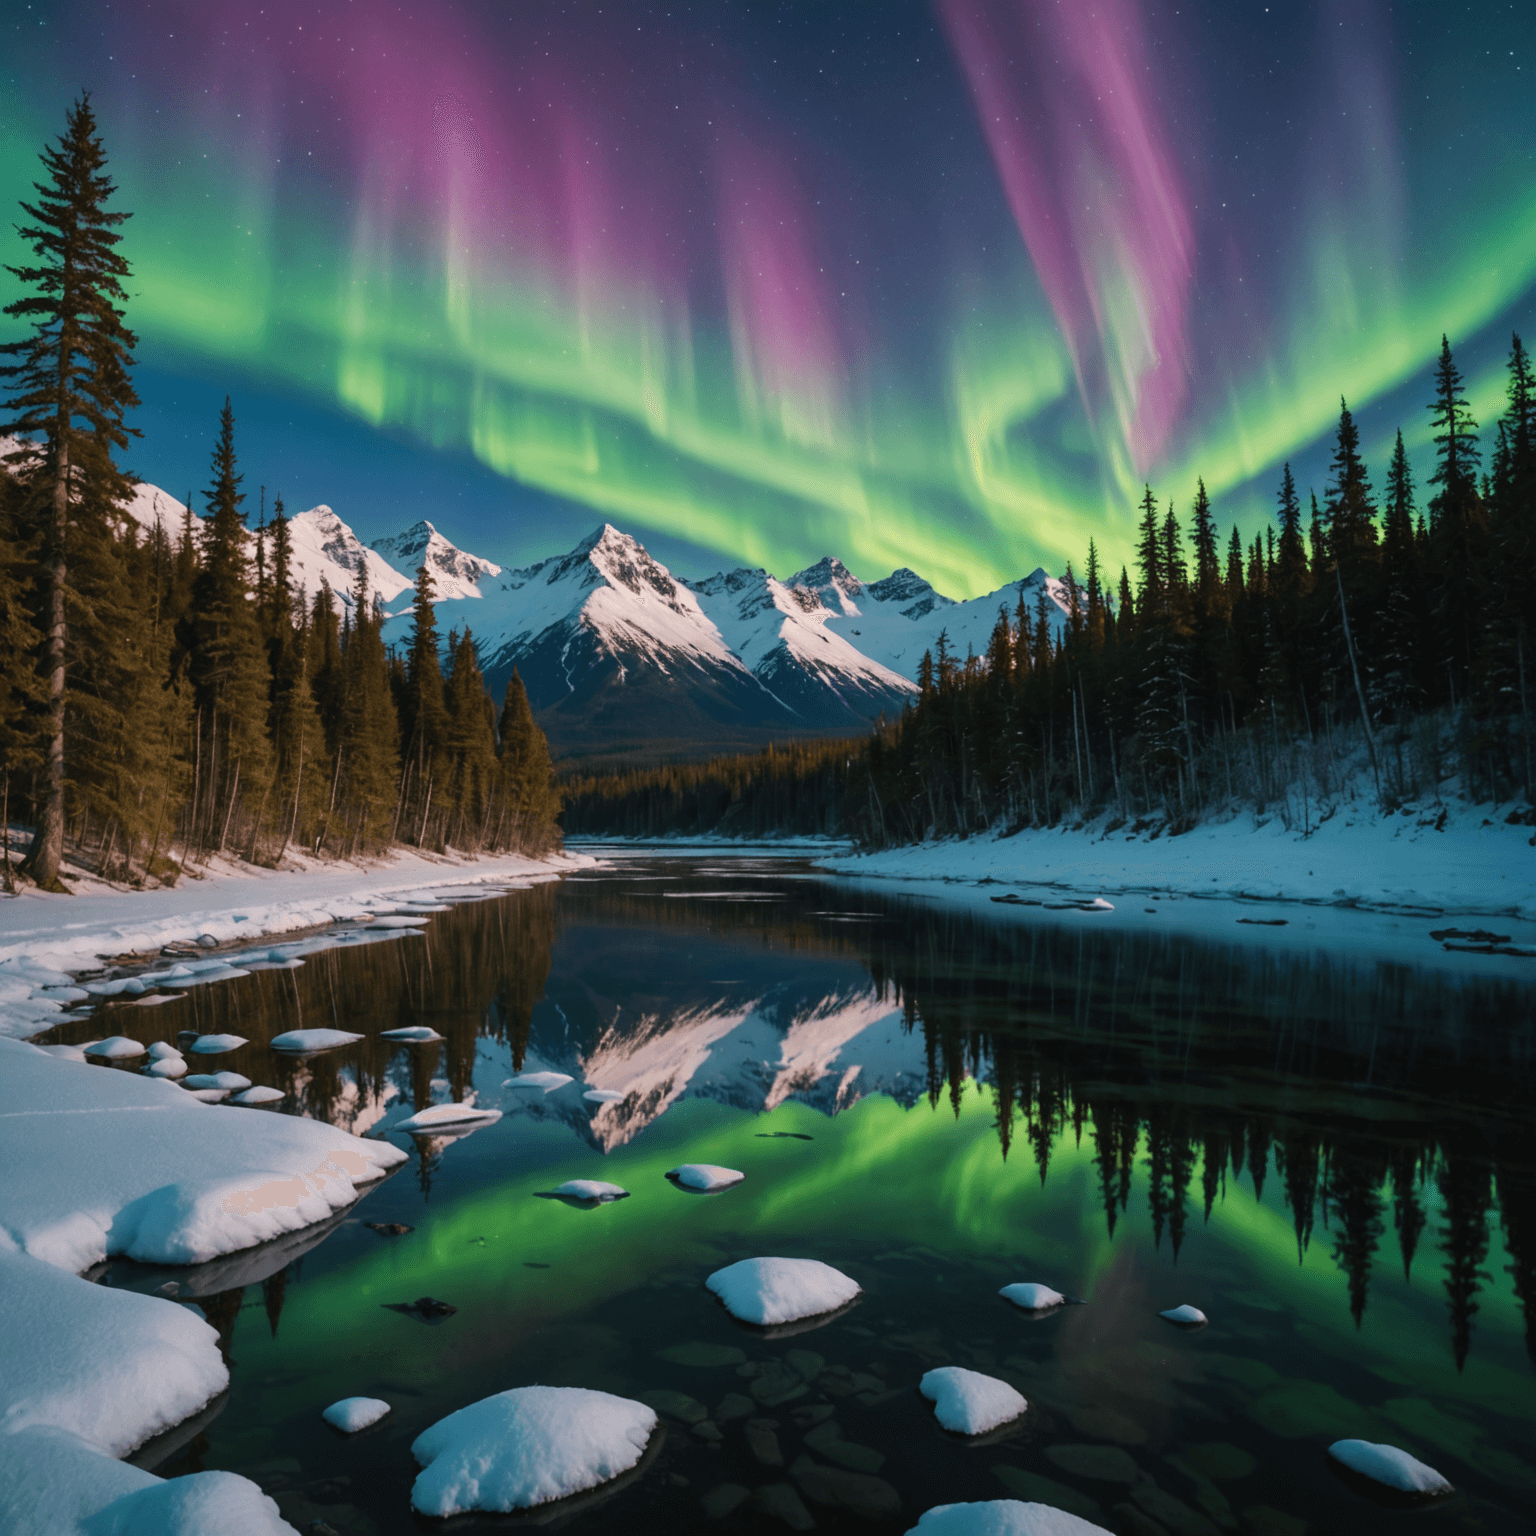
Capturing the ethereal beauty of the aurora borealis is a dream for many photographers. This natural phenomenon, also known as the Northern Lights, offers a dazzling display of color and movement across the night sky. To become a successful aurora borealis photographer, you’ll need the right gear, techniques, and knowledge of the best locations. This guide will provide you with essential information on the equipment needed, optimal camera settings, and ideal spots in Alaska for photographing the aurora borealis. Whether you’re a seasoned photographer or a beginner, this guide will help you capture the magic of the Northern Lights.
[spronix_cta key=”northern-lights-adventures”]
Essential Photography Gear for Aurora Borealis
Cameras and Lenses
The first step in becoming an aurora borealis photographer is selecting the right camera and lens. A DSLR or mirrorless camera with manual settings is essential. These cameras allow you to control the ISO, shutter speed, and aperture, which are crucial for night photography. A full-frame sensor is advantageous, but a crop sensor can also produce excellent results.
For lenses, a wide-angle lens with a fast aperture (f/2.8 or lower) is ideal. This type of lens will capture more of the sky and allow more light to hit the sensor, which is vital for low-light conditions. Consider lenses like the 14-24mm or 16-35mm, which offer a wide field of view and great light-gathering capabilities.
Tripods and Accessories
A sturdy tripod is a must-have for long exposure shots, which are necessary to capture the aurora’s movement and colors. Look for a tripod that can withstand windy conditions and uneven terrain. Additionally, a remote shutter release or intervalometer is useful to prevent camera shake and to take multiple shots without manually pressing the shutter button.
Don’t forget extra batteries and memory cards, as cold temperatures can drain battery life quickly, and you’ll likely be shooting in RAW format, which takes up more space.
Camera Settings for Night Photography
When photographing the aurora borealis, manual settings are crucial. Here are some recommendations to get started:
- ISO: Start with an ISO of 800 to 3200. Higher ISO settings can increase noise, so find the balance that works best for your camera.
- Aperture: Use the widest aperture your lens allows (e.g., f/2.8) to maximize light intake.
- Shutter Speed: Experiment with shutter speeds between 5 and 30 seconds. The speed will depend on the aurora’s activity and brightness.
- Focus: Switch to manual focus and set your lens to infinity. Use live view to fine-tune focus on a distant light source or star.
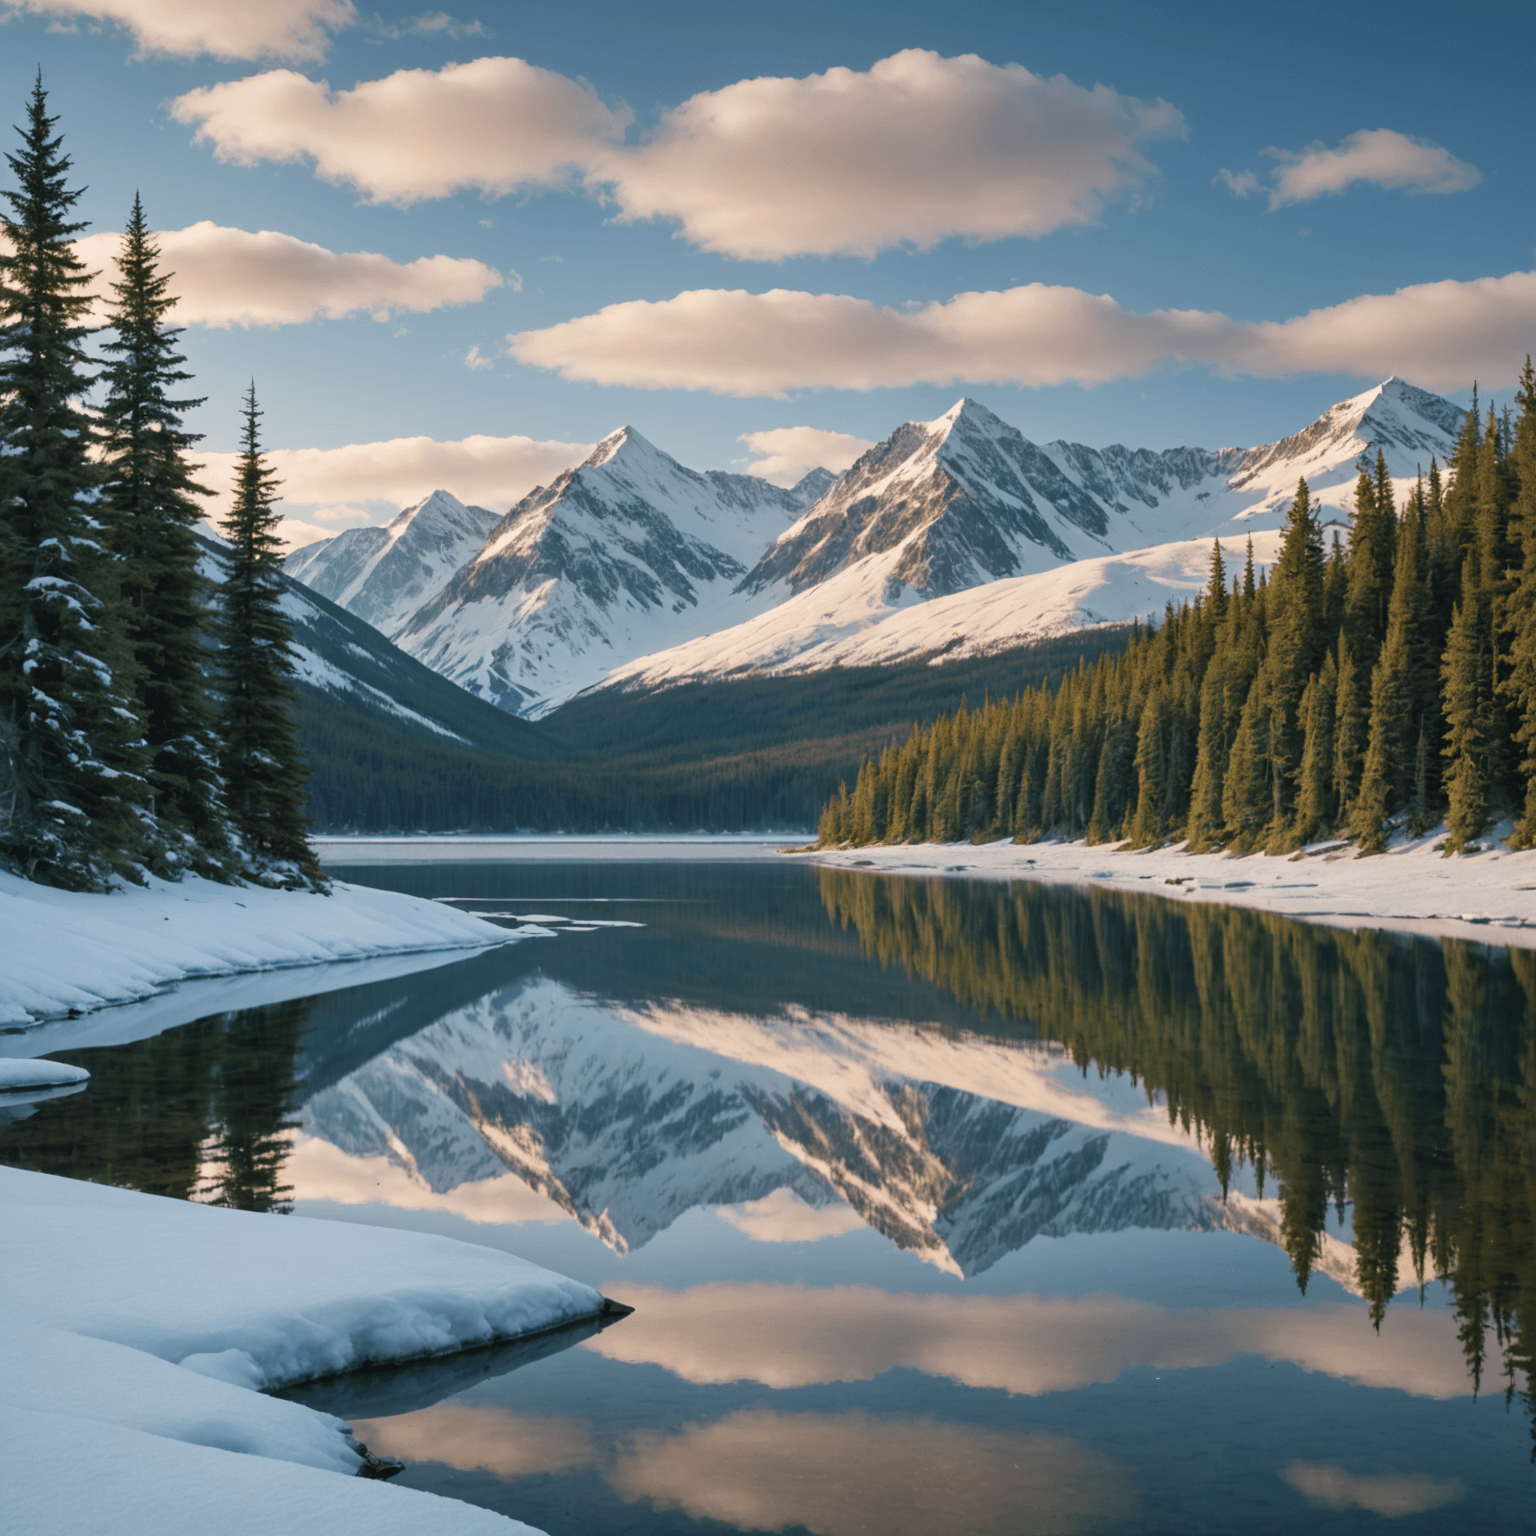
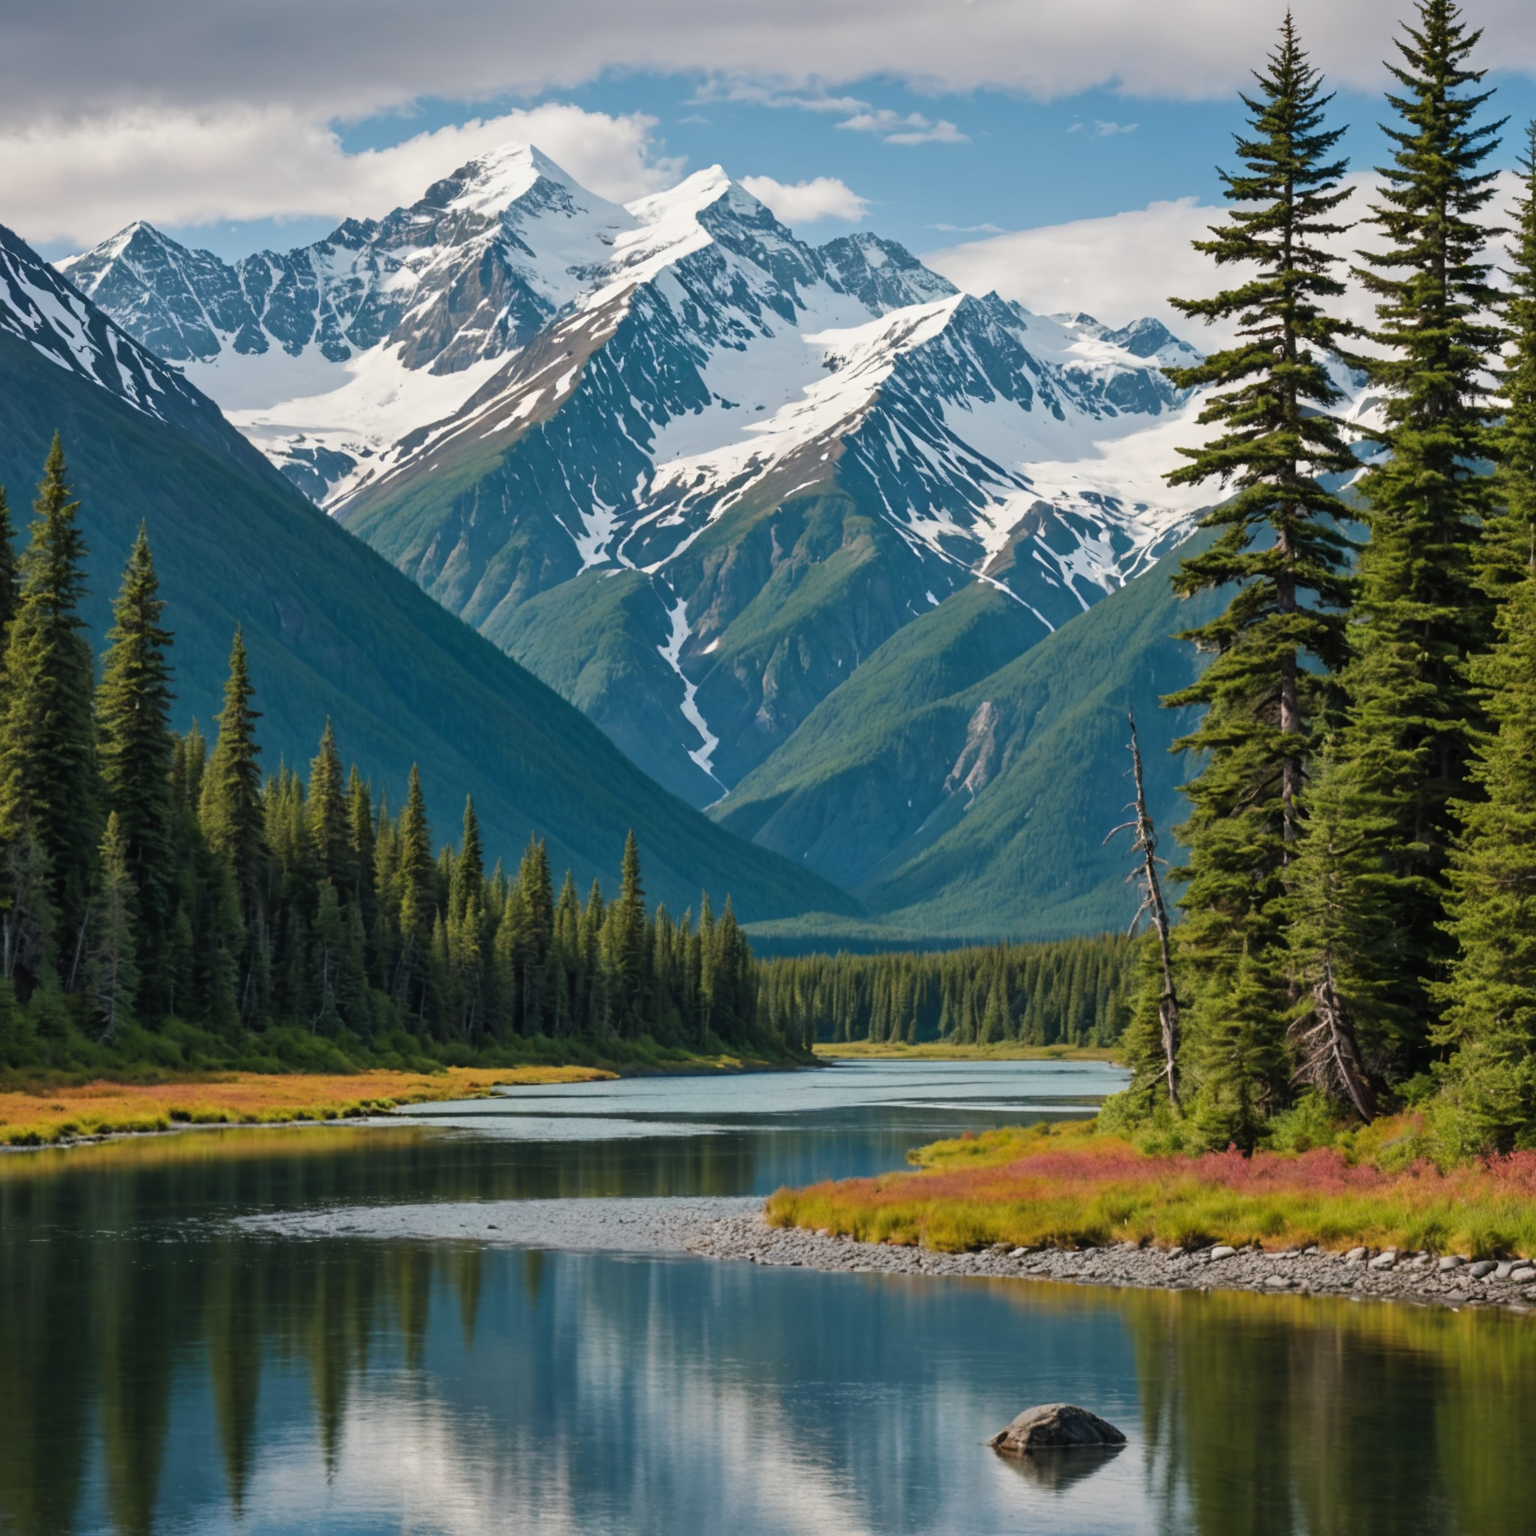
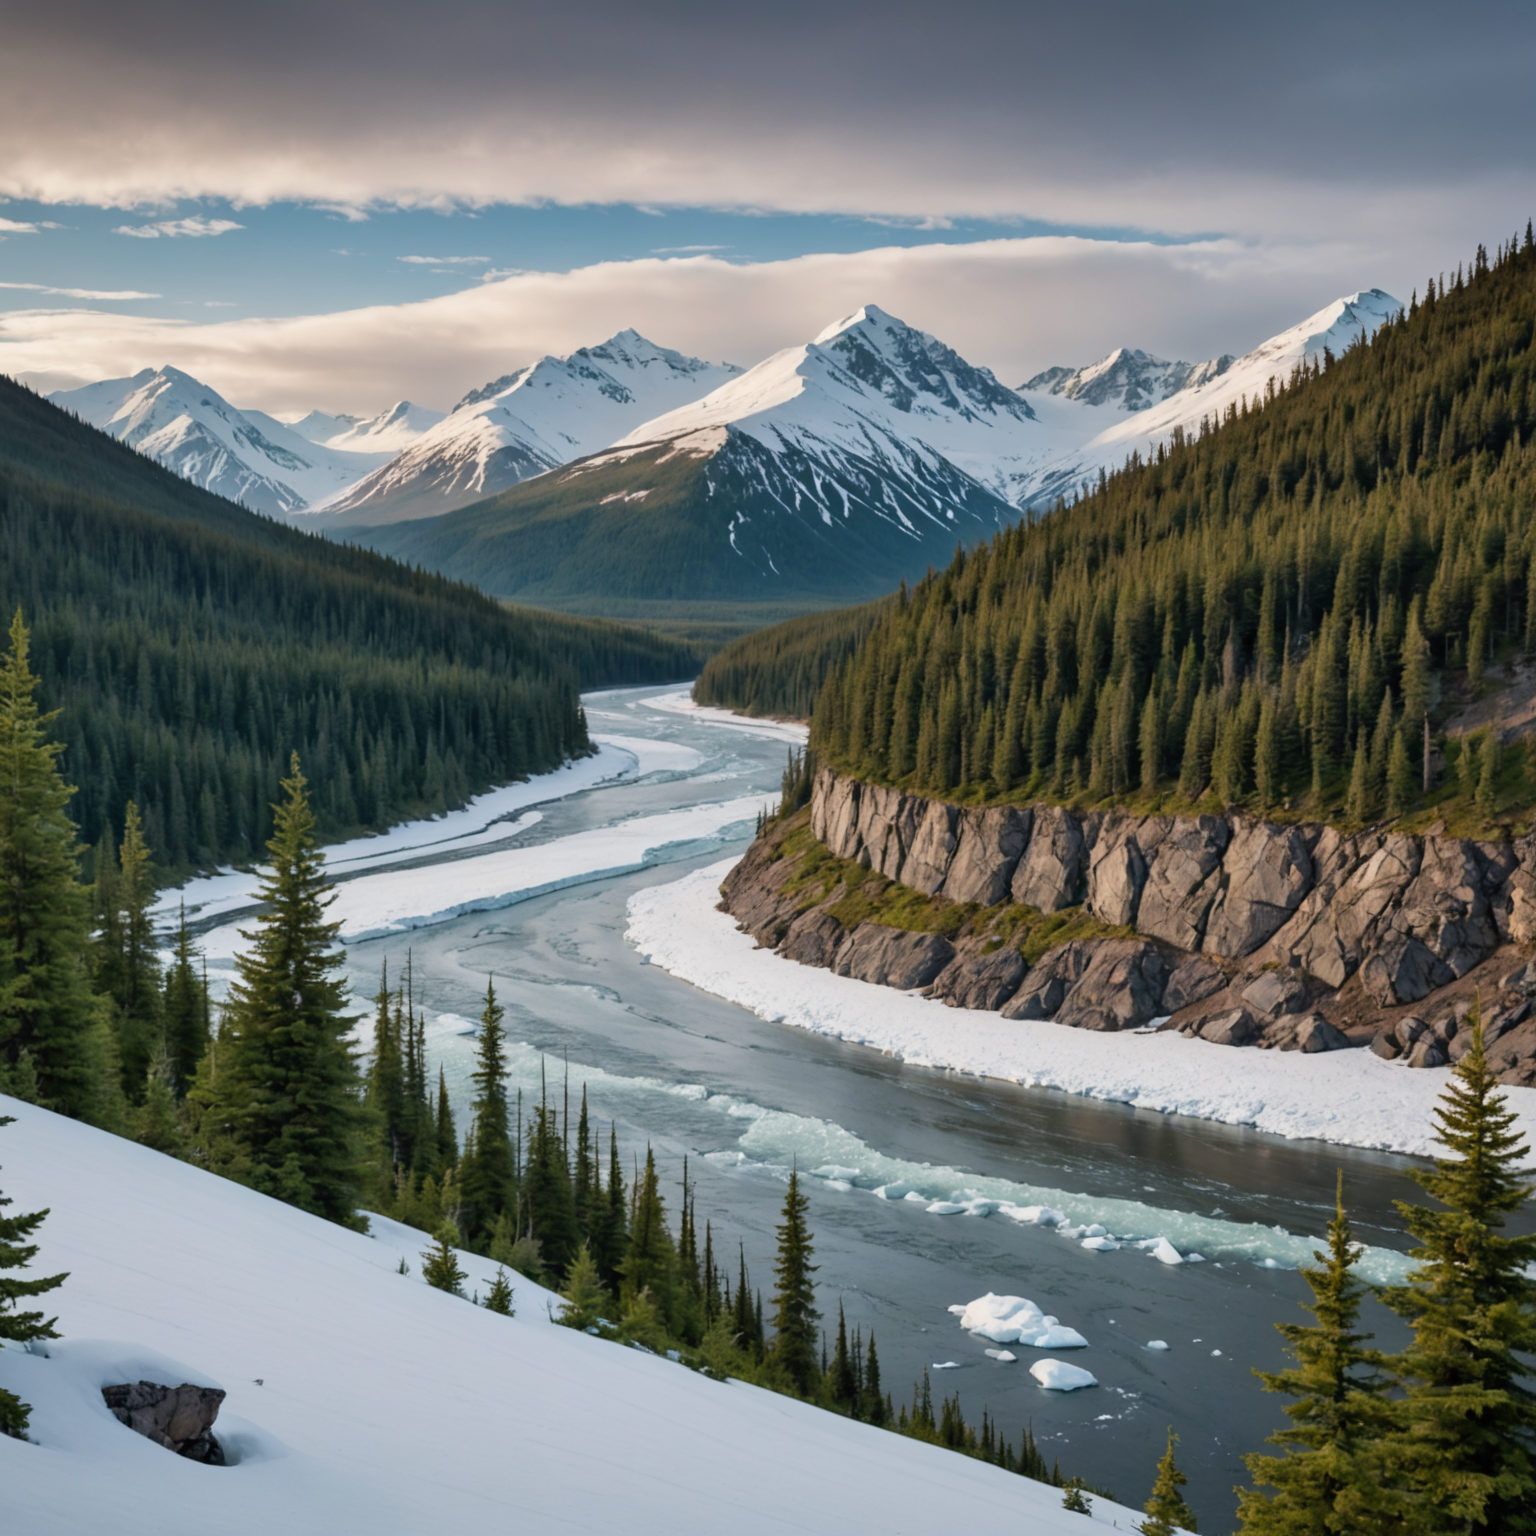
Best Spots in Alaska for Aurora Borealis Photography
Alaska is renowned for providing some of the best vantage points for viewing the Northern Lights. Here are a few locations that offer stunning opportunities for aurora borealis photography:
Fairbanks
Fairbanks is one of the most popular destinations for aurora viewing in Alaska. Its location under the “auroral oval” means a high probability of seeing the lights. The Chena River State Recreation Area offers excellent dark skies away from city lights. Consider booking a Northern Lights adventure in Fairbanks to enhance your experience.
Denali National Park
Denali offers breathtaking landscapes that can serve as compelling foregrounds for your aurora shots. The park’s vast wilderness provides unobstructed views of the night sky. Be sure to check the National Park Service for park conditions and regulations.
Anchorage
While Anchorage is a larger city, you can still capture the aurora borealis by venturing to nearby spots like Flattop Mountain or Point Woronzof. Keep an eye on the weather forecast to find the clearest nights for shooting.
Talkeetna
Talkeetna, a charming town with clear skies, offers excellent opportunities for aurora photography. The Talkeetna Chamber of Commerce provides information on local events and accommodations.
Conclusion
Becoming an aurora borealis photographer requires preparation and practice. With the right gear, camera settings, and knowledge of Alaska’s best locations, you can capture the Northern Lights in all their glory. Remember to plan your trip around the aurora season and monitor forecasts to increase your chances of witnessing this spectacular phenomenon. Whether you’re photographing the lights over the rugged terrain of Denali or the serene landscapes of Fairbanks, the experience will be unforgettable.
[spronix_cta key=”northern-lights-adventures”]
FAQ
What is the best time to photograph the aurora borealis in Alaska?
The best time to photograph the aurora borealis in Alaska is from late August to April, with peak activity typically occurring between December and March. Clear, dark nights are essential for optimal viewing.
What is an auroral oval, and why is it important?
The auroral oval is a ring-shaped region around the geomagnetic poles where aurora activity is most likely to occur. Being under this oval increases your chances of seeing the Northern Lights.
How can I predict aurora activity?
You can predict aurora activity by checking aurora forecasts from reliable sources like the Geophysical Institute or NOAA’s Space Weather Prediction Center.
What should I wear when photographing the Northern Lights in Alaska?
Dress in warm, layered clothing and wear waterproof and windproof outerwear. Don’t forget gloves, hats, and insulated boots to keep warm in cold temperatures.
Can I see the aurora borealis with the naked eye?
Yes, the aurora borealis is visible to the naked eye, though it may sometimes appear dimmer than in photographs. Cameras can capture more light and detail, enhancing the colors and intensity.
How do I avoid noise in my aurora borealis photos?
To avoid noise, use a low ISO setting and a camera with good low-light performance. Consider using noise reduction software during post-processing to enhance image quality.
Are there guided tours for aurora borealis photography?
Yes, guided tours are available, offering expert guidance and access to prime viewing locations. These tours can enhance your photography experience and increase your chances of capturing the perfect shot.
What safety precautions should I take during an aurora photography session?
Ensure you have a reliable means of navigation and communication. Check weather conditions and be prepared for rapid changes. Familiarize yourself with local wildlife and safety guidelines. Always inform someone of your plans when venturing into remote areas.